Ā

Now,
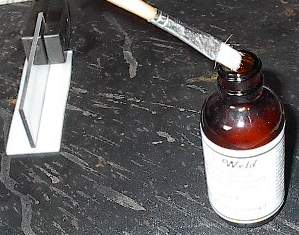
there are 2 methods for applying the Plastaweld. First we will
look at the hollow needle method. IĀam using a hypodermic
needle here, the sign industry also uses small plastic bottles
with hollow needles on top. either one works great.
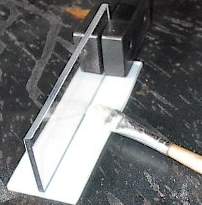
in the photo to the right I amĀ applying the powder to the
weld joint. It can be helpful to push the powder into the joint
after application using a pop sickle stick, razor blade or other
suitable tool.
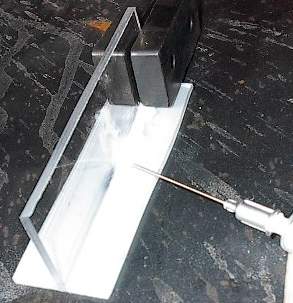
Below, I am using another needle to saturate the powder with the
liquid. You want the powder fully saturated, but not washed away.
Let the weld cure until hard. This will take 5-20 minutes
depending on temperature.
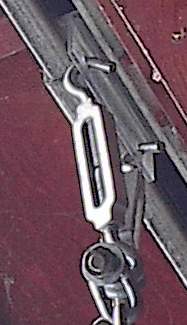
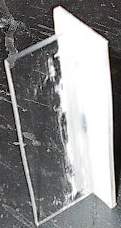
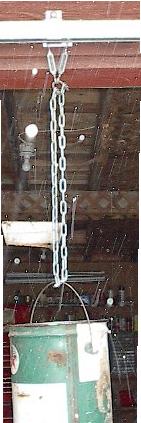
When
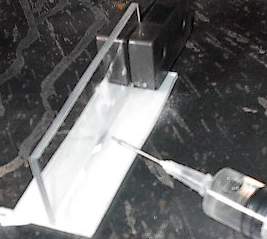
the weld is fully hardened, you may handle the piece. In order to
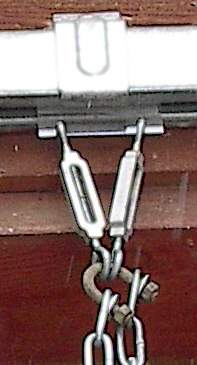
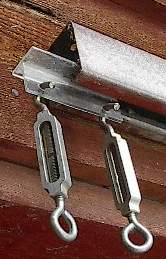
test the weld strength, I drilled two holes in the polycarbonate
and inserted turnbuckles. I then slid the piece into my garage
door rail. I attached aĀ chain and a 5 gallon bucket to the
turnbuckles.ĀI then slowlyĀfilled the bucket with bolts
watching for the point of failureĀsoĀI could weigh the
bucket and document how much weight would cause a failure at the
weld. the bucket when full weighed 75 pounds, but the weld did
not fail. I then removed the bucket and suspended myself from the
chain. Still no failure.
I weighed in at 170 poundsĀ
Tips For Successful plastawelding
- Due to it's powerful nature, the performance of
your Plastaweld will be affected by temperature. Controlling the
temperature will give more consistent results. When using in hot
temperatures, the product will sometimes gel to an unusable state
immediately when liquid and powder come into contact. To avoid
this problem, store product in a freezer and mix while still
cold. If Plastawelding job is in the field where a freezer is not
available, transport liquid and powder in a small cooler with Ice
packs. The professional results will be worth the
trouble.
-
- In very cold temperatures, cure times may be slowed
substantially. The curing process may be sped up by applying heat
with a blow dryer or heat gun. If using a heat gun use caution as
they can easily create enough heat to damage the product being
Plastawelded.
-
- Mix product in small quantities, as heat is generated
by the chemical process. This will cause the product to cure
before you are able to use it.
Please use your browsers back button to return to the home
page.
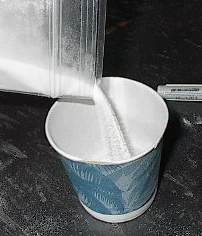
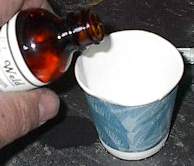
The Second
application methodĀis the mix method.
Shown to the right, I pour a small quantity ofĀpowder into a
paper cup.
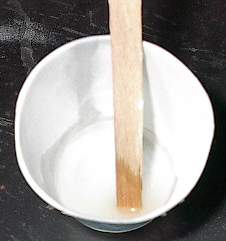
I then add enough liquid to over saturate the powder. if you add
to much liquid, you canĀ add powder to thicken the liquid,
or if it is too thick to work with, add more liquid.

Later I will
determine a way to stress the part to the point of failure and
post the results.
Perhaps the engine test, but I don't think the garage rail
can stand it.
That speaks pretty well for the
Plastaweld.
Mix
withĀdisposable tool and (after priming)Āapply to joint with rubber
gloved finger or other suitable tool.
 .
.